Here’s a pair of clean and simple cards featuring combinations of images from the new Hockey stamp set from
Clear & Simple Stamps.

This card uses the set’s block sentiment background as part of the focal image panel. I started out by stamping the hockey mask image in the center of the white panel, then masking it with a sticky note and stamping the block sentiment in red ink to surround the mask. When I was done, I decided I wanted the mask to stand out a bit more, so I ended up stamping it a second time on a scrap of white paper. I colored the mask just a bit, then cut it out and added it to the panel with dimensionals.
The rest of the card’s pretty simple. The stamped panel is layered on a red mat with distressed edges. I wrapped a piece of coordinating grosgrain ribbon around the square kraft card base, then layered the panel over the ribbon at on an angle using dimensionals. The “hockey” sentiment is stamped in the lower right corner of the card using red ink.
Materials Used:
Hockey stamp set (Clear & Simple Stamps); white cardstock (Gina K Designs); Tuxedo Black ink (Memento); markers (Copic); Real Red Classic ink, Real Red and Kraft cardstock, Riding Hood Red striped grosgrain ribbon, silver brads, distressing tool, dimensionals

This card features the hockey stick and puck images. Here, I stamped the hockey stick image on a white panel and colored it with Copic markers. The set’s smaller puck image was stamped in black on a scrap of cardstock, cut out, and added to the stick’s blade with foam tape.
I covered a navy card base with a piece of red patterned paper, then zigzag stitched a layered navy and red panel over it using my sewing machine. The “play like a champion” sentiment is stamped on the panel in black ink and accented by a single silver brad. The image panel overlaps the strip at an angle. I added a navy ribbon tab as a simple embellishment.
Materials Used:
Hockey stamp set (Clear & Simple Stamps); white cardstock (Gina K Designs); Tuxedo Black ink (Memento); markers (Copic); designer paper (Scenic Route); silver brad (Making Memories); navy grosgrain ribbon (Michaels); foam tape; sewing machine

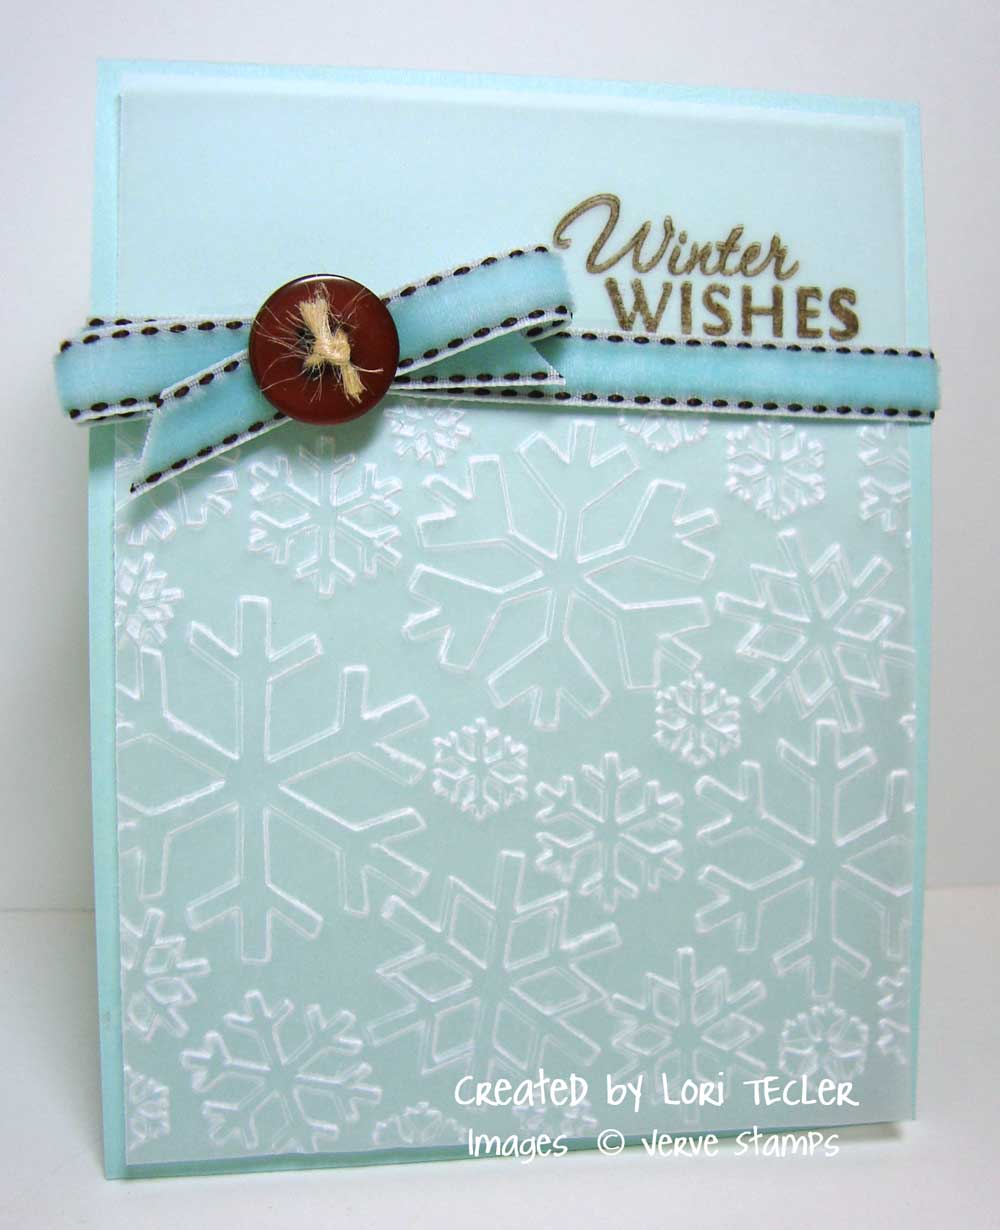
 I used a similar blue color scheme, but this time reversed the placement of the colors so the darker shade of blue was the card base. Instead of stamping an image on the large panel on the cardfront, I used a snowflake embossing folder on a piece of shimmery silver paper.


